Exercise 5
You can make a snail to remind you of the mollusk period of history. Imagine your little creature sliding along the ground 488 million years ago. Making the model introduces you to some of Blender's primitive objects and gives you practice with grids, axes and measurements. You also get to make a Material.
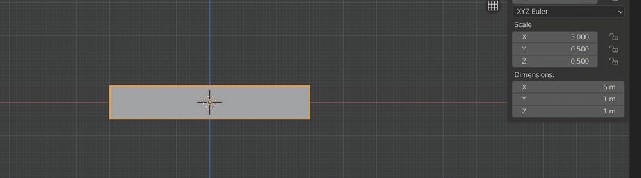
1. Enter Blender > General, delete the camera and light, then open the Sidebar (View > Sidebar.) Enter "1" for Front Orthographic View, and change the Dimensions of the cube as follows: "X – 6, Y – 1, and Z – 1".
Image 1.54
2. Add a UV Sphere (Add > Mesh > UV Sphere) and notice that the origin of the UV Sphere is located in the middle of the "3D" Cursor (as mentioned previously.) Change all of the UV Sphere's Dimensions to "1" meter (See Image 1.55.) Then, change the "X" axis location to "3". You now have a head on your mollusk (See Image 1.56.)
Image 1.55
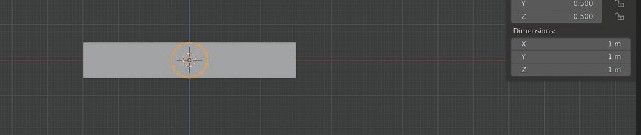
Image 1.56

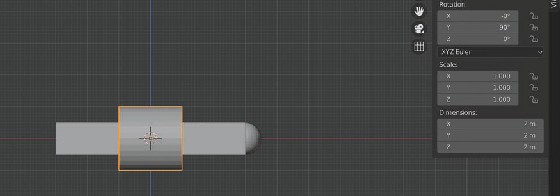
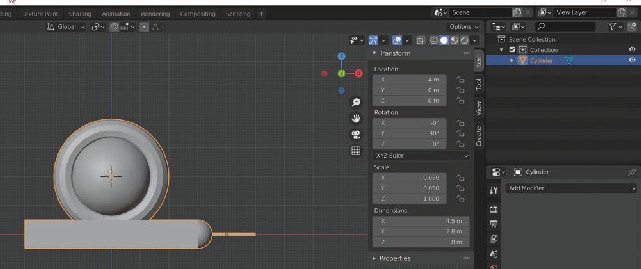
3. Add a cylinder (Add > Mesh > Cylinder ), and then enter "R Y 90" ("R" for Rotate) to change the rotation of the cylinder to align with the body of the snail. When you enter "R Y 90", you tell the system that you want to Rotate the cylinder "90" degrees on the "Y" axis. Note that in the Sidebar the "Y" Rotation field now shows "90" degrees.
Image 1.57
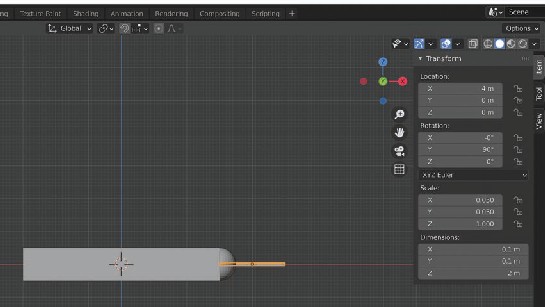
4. Change the cylinder's "X" and "Y" Dimensions to ".1" meter.
Image 1.58

5. Change the "X" coordinate in the Location field of the Sidebar to "4" meters, and you now have an antenna for your snail.
Image 1.59
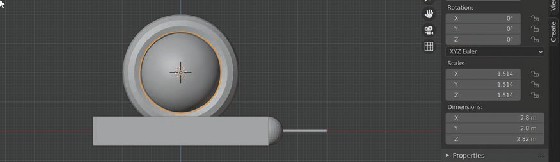
6. Add a torus (Add > Mesh > Torus) and give the torus these Dimensions "X - 4, Y - 4, and Z - 1" (See Image 1.60.) Enter "R X 90" (Rotate "90" degrees on the "X" axis) to Rotate the torus in the direction of the snail's body. Change the torus' Location to "2" on the "Z" axis (See Image 1.61.)
Image 1.60

Image 1.61
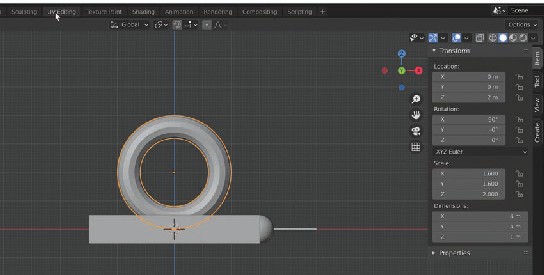
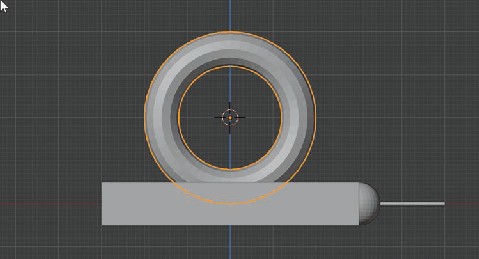
7. Select the torus and click Object > Snap > Cursor to Selected. The "3D" Cursor is then positioned at the origin of the torus (the torus' center point).
Image 1.62
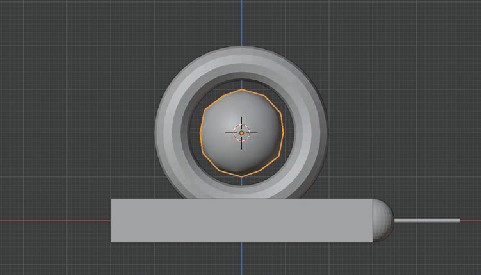
8. Add an ico sphere (Add > Mesh > Ico Sphere), and note that it is located at the "3D" Cursor. To make the ico sphere more rounded, click Object > Shade Smooth.
Image 1.63
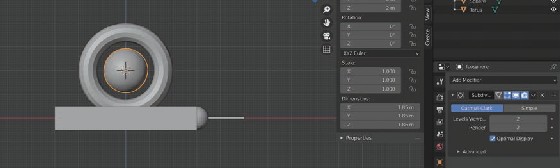
9. To make the ico sphere even more rounded, click the Wrench icon in the Properties Window (See Image 1.64) and add a Subdivision Surface Modifier (Add Modifier > Subdivision Surface under Generate.) In the Add Modifier Window change the Viewport value to "2" (See Image 1.65), and click the down arrow to the right of the camera icon to Apply the Modifier.
Image 1.64
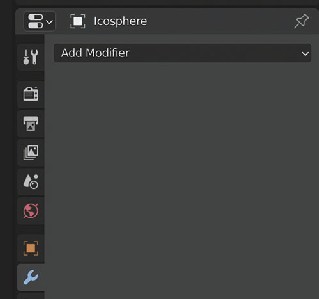
Image 1.65
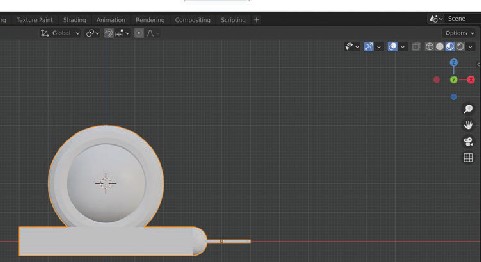
10. With the ico sphere selected enter "S" for Scale, and drag the mouse until the ico sphere fills the torus.
Image 1.66
11. Hold down the Shift key, and then, click the left mouse key on each of the objects to select them. Then click Object > Join to create one complete object.
Image 1.67
12. In the Outliner Window (the window above the Properties Window), double click on the joined object, and name the object "Snail".
Image 1.68

13. Toggle the Sidebar off (View > Sidebar.) Then, click the fourth view square to get into Material Preview.
Image 1.69
14. Click the Material Properties icon in the Properties Window (See Image 1.70), then click the "(plus) +" sign to add a Material (See Image 1.71.) Click the bar labeled New and then change the Material name to "Snail" (See Image 1.72.) Click inside the Base Color field. Then, in the color wheel, choose a color that you like for your snail (See Image 1.73.)
Image 1.70

Image 1.71
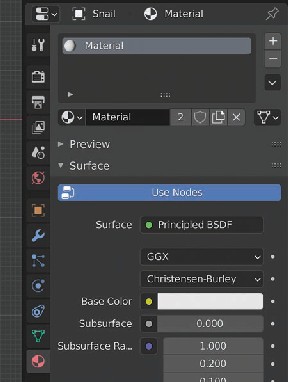
Image 1.72
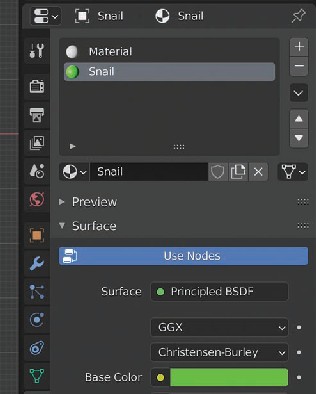
Image 1.73
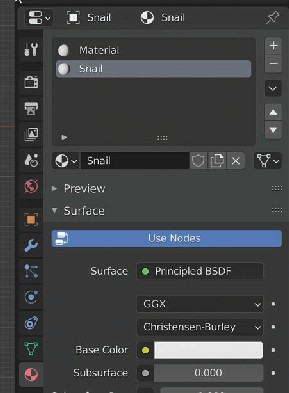
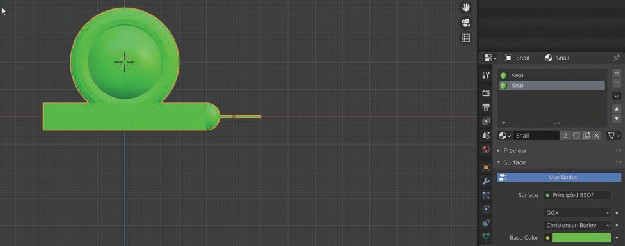
15. To assign the Material to the object (the "Snail"), hold down the left mouse key while hovering over the Material icon (next to the box where you entered the name), drag the icon onto the object and then release the mouse key (See Image 1.74 and Image 1.75.)
Image 1.74

Image 1.75
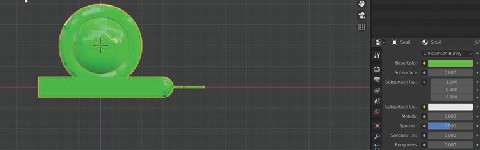
16. Scroll down to the Roughness field, and change the value to "0", if you want a shiny, slimy snail.
Image 1.76
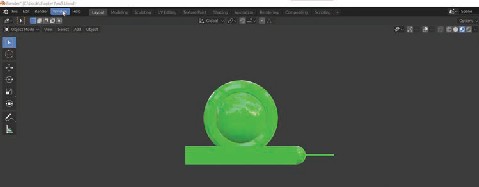
17. Click on both the Show Gismo and the Show Overlays icons (in the top right corner of the "3D" Viewport) to unselect them and you see a clean window for your snail.
Image 1.77
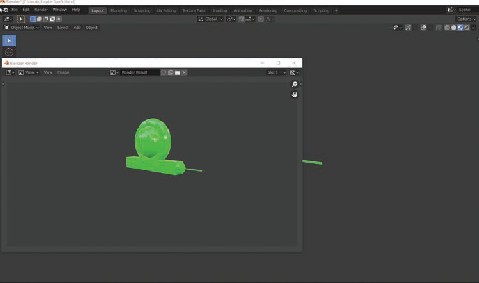
18. Hold the middle mouse key down (the scroll wheel), and drag into User Perspective View. Click Select > None and then click View > Viewport Render Image to create an image of your snail.
Image 1.78
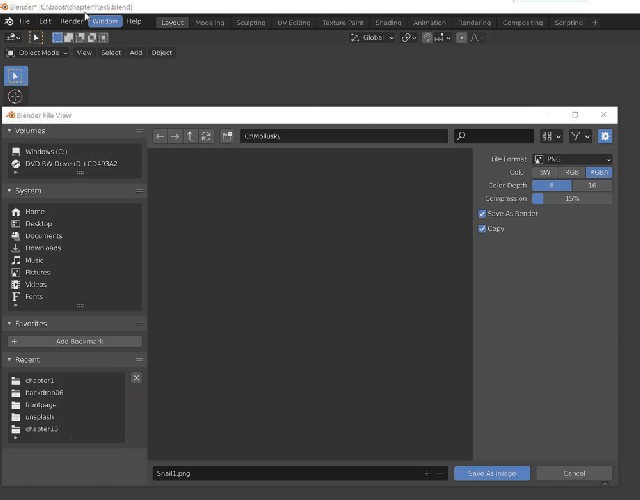
19. When the Render is visible, click Image > Save As. Navigate to your "Mollusks" folder, and save your "Snail" image as "Snail1".
Image 1.79
20. Save the Blender file to your "Mollusks" folder as "ex5".