Exercise Two
Adding objects, deleting objects, selecting objects, and changing views builds your confidence and comfort with the Blender system.
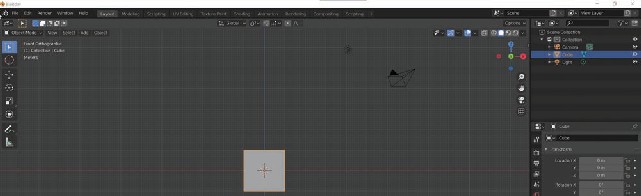
1. Click the Blender icon to enter the "3D" world. Click your "ex1" file under the Recent Files section to see your prior scene. Exit the file (File > Quit) and then enter Blender > General to start a new project. Enter "1" for Front Orthographic View.
Image 1.17
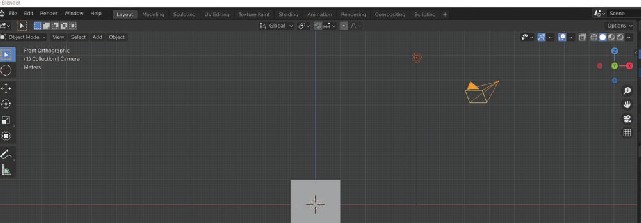
2. Select the lamp and the camera. Then, press the Delete key, and they disappear. You learn all about them in future exercises.
Image 1.18
3. Select the cube, click the wireframe square and the x-ray square so that you can see the all-important origin dot in the middle of the cube. Then move the "3D" Cursor to the left side of the window (click the "3D" Cursor icon in the toolbox tab and then left click the mouse on a location left of the cube) (See Image 1.19). Remember to click the icon above the "3D" Cursor icon to get back into selection mode (See Image 1.20.)
Image 1.19
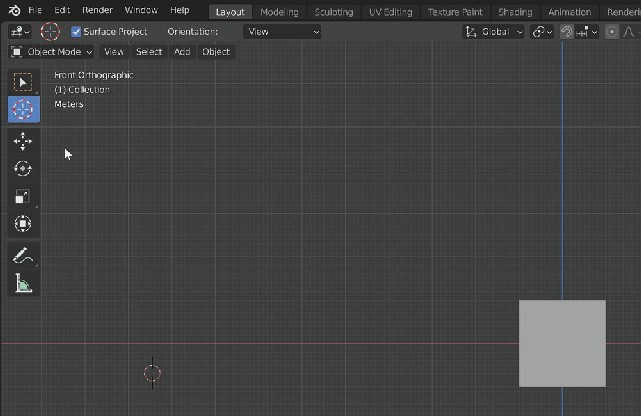
Image 1.20

4. The origin of the cube is located in the absolute center of the "3D" world. It is at position zero. Click View > Sidebar to open the Sidebar Window on the right side of the "3D" Viewport.
Image 1.21
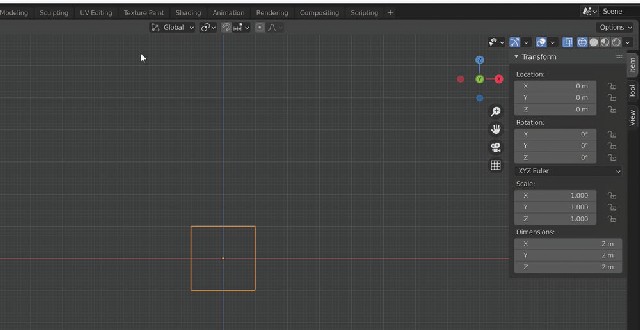
5. The Sidebar Window displays the "3" Transforms that you use in Blender: Location, Rotation, and Scale. You can adjust the Transforms, but first you must understand how the 3-dimensional axes work. The blue axis in the center of the screen is the "Z" axis. It indicates north to south; up and down. The red "X" axis indicates west to east; side to side (See Image 1.22.) You can't see the "Y" axis because you are in Front Orthographic View and the "Y" axis indicates front to back. Hold your middle mouse key down and slightly drag the mouse in a downward motion. You immediately enter the User Perspective View, and now, you can see the "Y" axis (See Image 1.23.)
Image 1.22
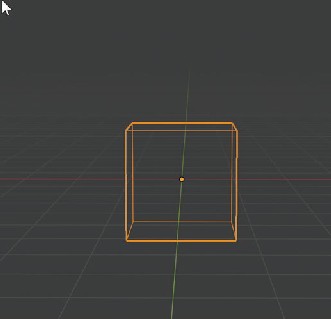
Image 1.23

6. Now, enter "1" for Front Orthographic View. The grid lines that you see throughout the "3D" Viewport are to give you a distance perspective and are extremely important to architects and engineers for precision work. The grid lines will also help you to understand the size and location of objects in the Blender world.
7. By default, Blender starts you out in the metric system of measurement, and you use that system throughout this training text. It's much easier to work in units of "10" than in units of "12".
8. Each of the larger squares in the grid is one meter on each of its sides. Each box is one square meter. The smaller squares are centimeters ("10" centimeters in a meter.) The default cube is "2" meters in height (the "Z" axis), "2" meters in width (the "X" axis) and "2" meters in length from front to back (the "Y" axis). Look at the dimensions in the Sidebar for verification. You see "2"m (meters) on "X, Y, and Z".
Image 1.24

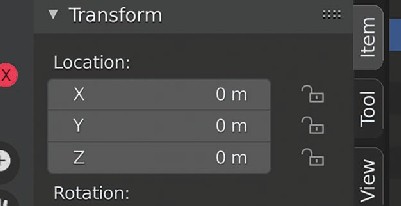
9. You can also verify that the cube is located at the center of the "3D" world. In the Sidebar under Location, you see "0" on "X, Y, and Z". The Location of the object (the cube) is determined by the Location of its origin (that small dot in the center that was discussed earlier.)
Image 1.25
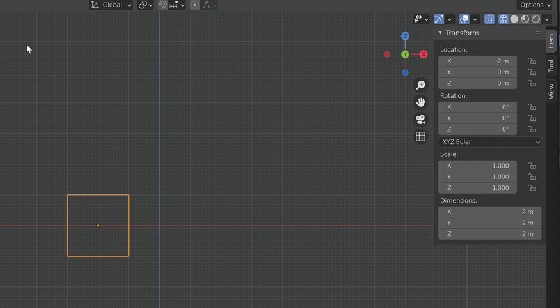
10. Left click in the "X" field under Location in the Sidebar and enter the number "2". The origin of the cube moves two grid lines to the right (See Image 1.26.) Now enter "0" and the origin moves back to the zero coordinate. Enter "(minus) -2" and the origin moves two grid lines to the left (See Image 1.27.) Experiment with the "Z and Y" coordinates to get a feel for movement in Blender. Alternate between User Perspective View and Front Orthographic View so that you can see the movement on the "Y" axis.
Image 1.26
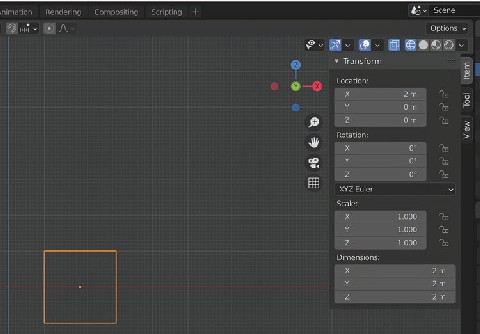
Image 1.27
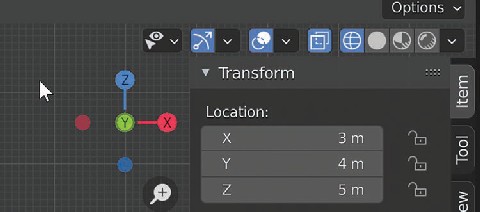
11. Enter these coordinates into the Location fields: "X-3, Y-4 and Z-5". In Front Orthographic View you can determine that the origin is now on the third grid line to the right of center and that the origin is at the 5th grid line north of the "X" axis (See Image 1.28.) To see the "Y" Location, click on the right circle of the View Gizmo in the top right-hand corner of the "3D" Viewport (the red circle with the "X" in the middle) (See Image 1.29.)
Image 1.28
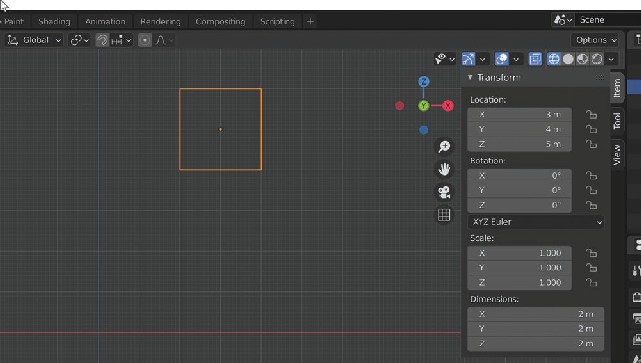
Image 1.29
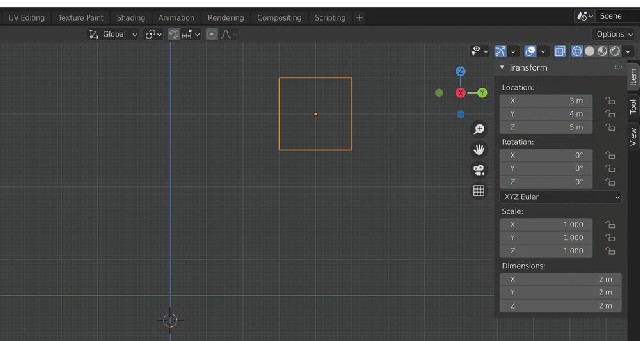
12. Now you are in Right Orthographic View. It's as if you were in front of a house, and you could only see the front porch area, but now, you have walked to the side of the house, and you can see from front to back. You can verify that the origin of the cube is "4" meters back from the original "0" "Y" location. Note that you now have a green line indicating front to back. Yes, the "3D" world can be a bit confusing, but as you go forward, things do become clearer.
Image 1.30
13. Save this exercise as "ex2" in your "Mollusks" folder.