< Chapter 1: Mollusks Exercise 2 >
Exercise One
A bit of clicking, dragging, viewing, and selecting starts you on your way to understanding how the "3D" world works. Let's get started with the task at hand. Learning Blender so that you can create your own historical "3D" models.
1. Wait! Don't touch a thing. Of course, it's too late, you've probably already been experimenting. No matter. Just click File > Default > Load Factory Settings in the title bar at the top to get back to the beginning.
Image 1.02
![]()
2. You now see the scene below:
Image 1.03
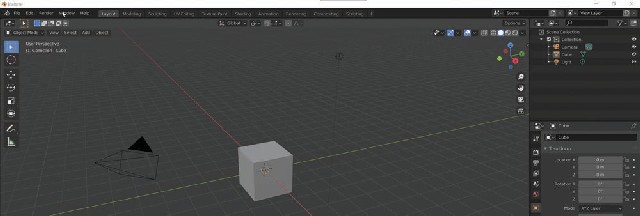
3. The dark object on the left is the camera. The center cube is called the default cube, and in the upper right, you see a lamp. Until you save your own preferred setup, you will always see this scene when you enter the Blender > General world.
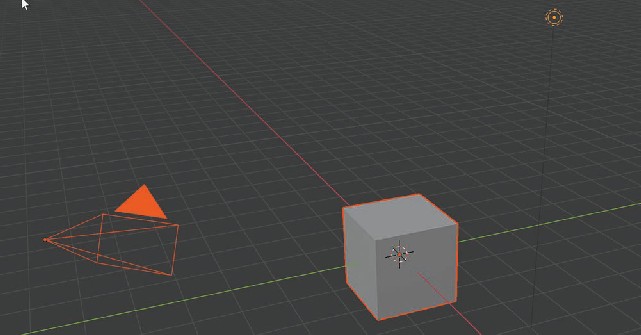
4. Click the left mouse key on the camera, and you see the object highlighted in yellow (See Image 1.04) You have selected the camera. Now select the cube and then the lamp. Hold the Shift key down while clicking the cube, and both the lamp and cube are highlighted. Continue to hold the Shift key down and click the camera. All three objects are now selected as shown in Image 1.05.
Image 1.04

Image 1.05
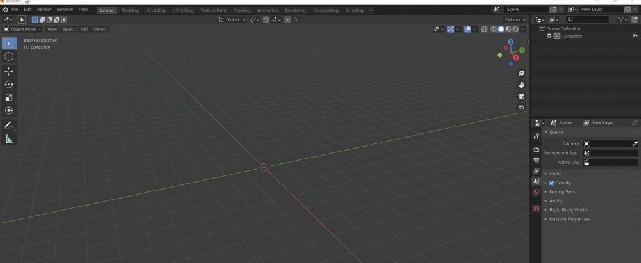
5. Click the delete key on your keyboard and all three objects disappear.
Image 1.06
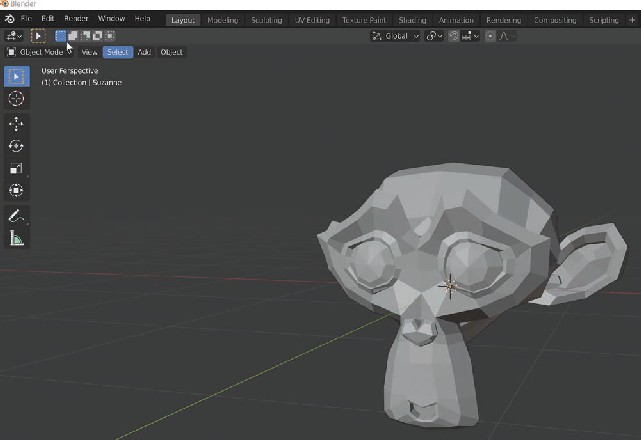
6. Unfortunately, Blender doesn't provide you with an ancient mollusk primitive object. Later you can make your own mollusks, color them, add Texture to them and even animate them. However, for now, you can use the Blender monkey named "Suzanne". "Suzanne" is a valuable asset in Blender and is often used to help in training. Just click Add > Mesh > Monkey (See Image 1.07.) Pretend that the monkey is an ancient mollusk and try to imagine what the world might have been like 488 million years ago.
Image 1.07
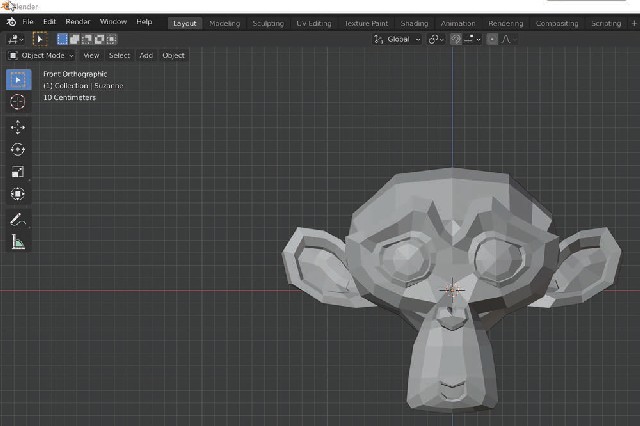
7. In the upper left-hand corner of the "3D" Viewport, you see the words User Perspective. That means that you are viewing the scene from an average person's viewpoint. Let's say you are walking down the street and viewing houses as you walk. With each step, you see the houses from a different perspective. Click the "1" key on your keyboard and you will see the Front Orthographic View of the monkey. You are now looking directly at the house in front of you; well actually the monkey in this case.
Image 1.08
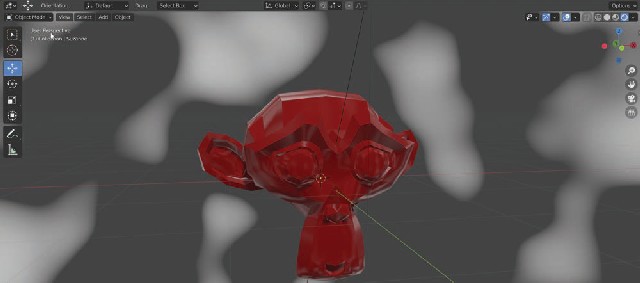
8. There are five, valuable options for viewing the monkey (or any other Blender objects). You choose which view you want by clicking one or more of the squares in the top right-hand corner of the "3D" Viewport. If you hover the mouse cursor over any of the squares, Blender gives you a short description of that view. Images 1.09 to 1.12 show four of the view options.
Image 1.09, Xray with Wireframe
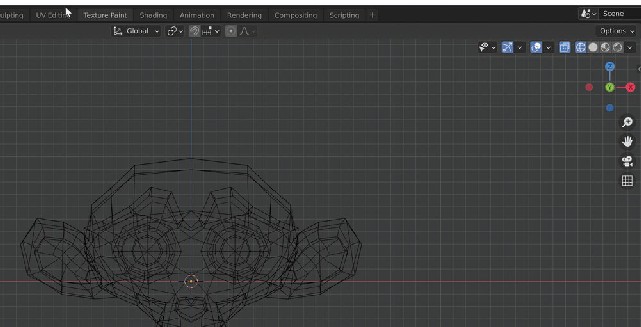
Image 1.10, Studio
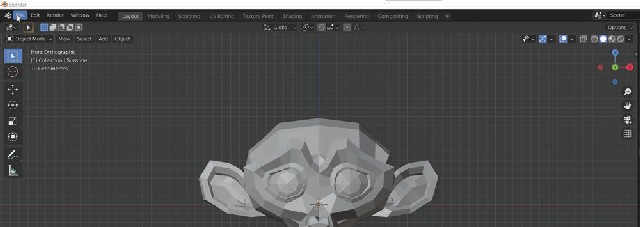
Image 1.11, Material Preview

Image 1.12, Rendered
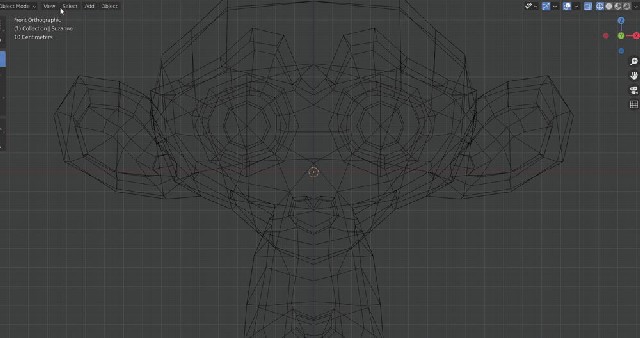
9. Click the second viewing square to activate Wireframe View. Wireframe View shows you the mesh that Blender objects are made of. Hover the cursor over the circle in the middle of "Suzanne's" face and use the scroll wheel on your mouse to zoom in and zoom out. Zoom in until the monkey fills the "3D" Viewport.
Image 1.13
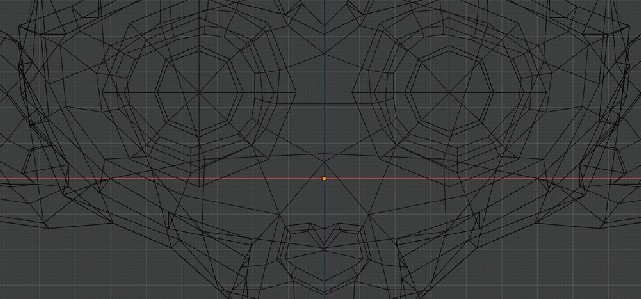
The circle in the center of "Suzanne's" face is called the "3D" Cursor and is a valuable asset. If you click the icon of the "3D" Cursor in the toolbox on the left-hand side of the window, you can move the "3D" Cursor anywhere within the window (See Image 1.14.) Click the icon, position the mouse cursor to the left of the monkey, and then click the left mouse button.
Image 1.14

10. Click the icon above the "3D" Cursor icon in the toolbox to release the icon focus, so that you can select other objects.
Image 1.15

11. In the middle of "Suzanne's" face, you can see a small dot. This dot is the object's origin. The origin is always in the center of newly added meshes (objects) and is a very important part of "3D" modeling.
Image 1.16
12. Create a new folder on your computer drive named "Mollusks". You can learn how to make folders here
13. Go to File > Save As and navigate to your "Mollusks" folder, then save the file as "ex1".