Exercise 4
A short animation to reinforce your new knowledge of the "3D" world.
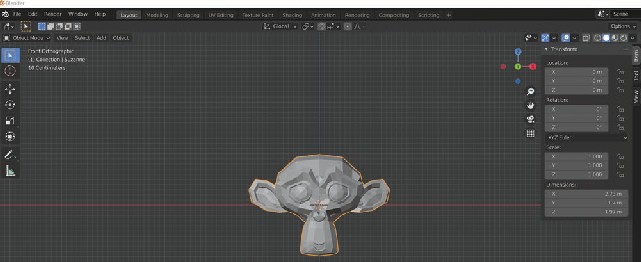
1. Enter Blender > General and enter the "1" for Front Orthographic View.
2. Delete the cube, camera, and lamp. Then add the monkey to your scene (Add > Mesh > Monkey.) Also click View > Sidebar.
Image 1.40
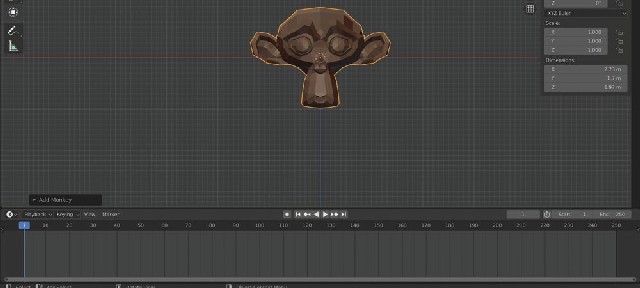
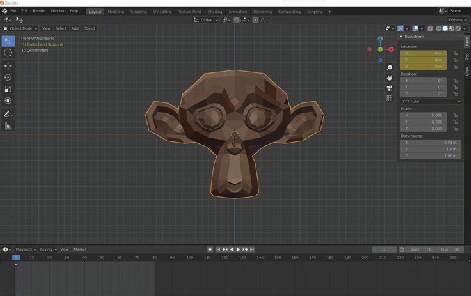
3. Click the down arrow to the right of the view options, click the circle under Matcap, and choose a color for "Suzanne".
Image 1.41

4. At the bottom of the "3D" Viewport is another window called the Timeline. Position the mouse cursor at the top of the window until you see two arrows, hold the left mouse key down and drag the top of the window slightly higher.
Image 1.42
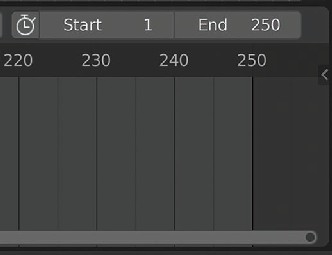
5. The Timeline begins at Frame "1" and ends at Frame "250" (See Image 1.43.) Left click in the End field and change the End Frame value to "80" (See Image 1.44.)
Image 1.43

Image 1.44
6. Notice the blue color covering the number "1" and extending downward. This blue line indicates that the Timeline is now positioned at Frame "1" (See Image 1.45.) Click on Frame "20", and the blue line moves to Frame "20" (See Image 1.46.) Click on a few other Frame numbers to get the feel of the Timeline, and then, position back to Frame "1".
Image 1.45
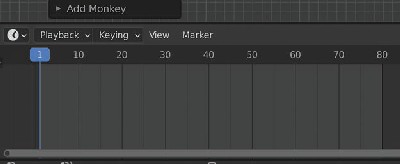
Image 1.46

7. To insert a Keyframe click Object > Animation > Insert Keyframe. The pop- up menu will offer many options, but for this exercise select only Location. The Timeline will now show a yellow diamond at Frame "1". You now see all of the Location fields in the Sidebar changed to yellow.
Image 1.47
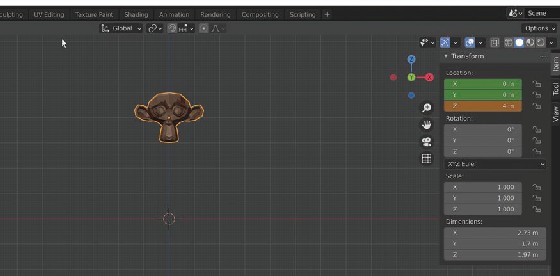
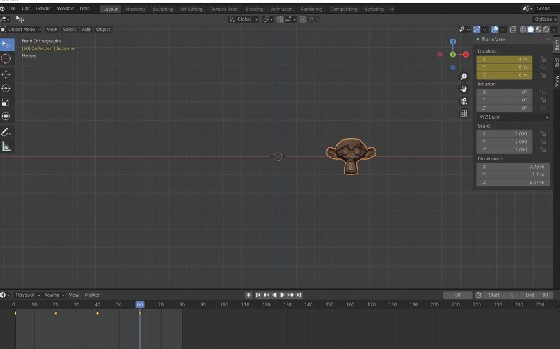
8. In the Timeline, click Frame "20" (See Image 1.48.) You see that all of the Location fields are now green. Now you are ready to make your first Move. Click on the "Z" axis in the Sidebar Location field, and enter "4" to move the monkey "4" meters north on the "Z" axis (See Image 1.49.)
Image 1.48
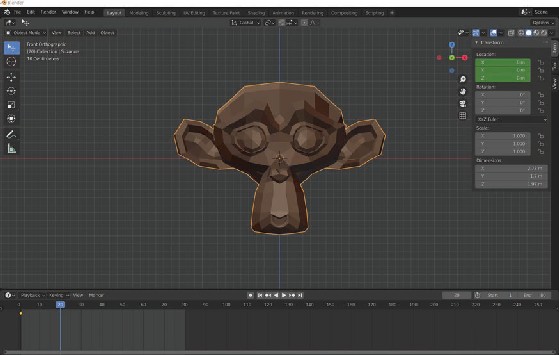
Image 1.49
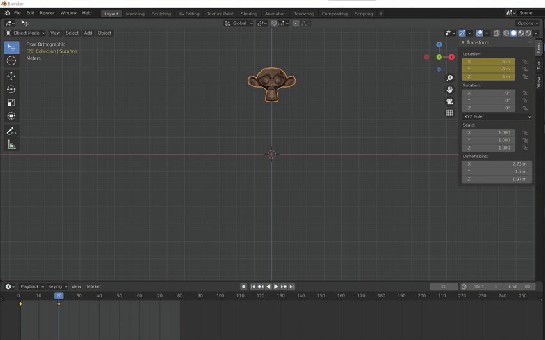
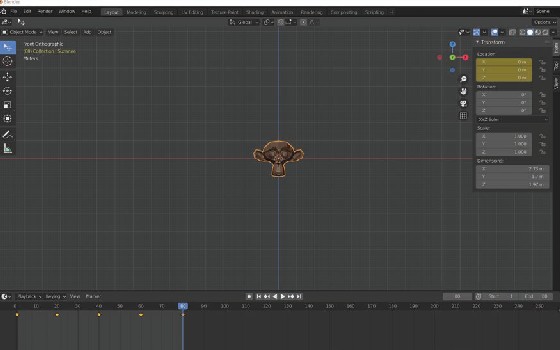
9. Now create another Keyframe. Click Object > Animation > Insert Keyframe and again choose Location. The Location fields change back to yellow. You have created your second Keyframe.
Image 1.50
10. If you click on Frame "1", the monkey goes back to the original Location. Then, if you click on Frame "20", "Suzanne" is again positioned on the fourth "Z" grid line.
11. Position on Frame "40", and then, enter "4" in the "X" Location field of the Sidebar. Click Object > Animation > Insert Keyframe (Location) and you will have a new Keyframe at Frame "40".
Image 1.51

12. Position on Frame "60", and then, enter "0" on the "Z" axis Location. Click Object > Animation > Insert Keyframe (Location) to again add a Keyframe.
Image 1.52
13. Finally, position on Frame "80", enter "0" in the "X" Location field and then add the required Keyframe. You can now click on the Keyframes individually and see the monkey move from place to place. In the Timeline, click the Play triangle pointing to the right to have "Suzanne" moving forward and the arrow pointing left to see the animation moving backward.
Image 1.53
14. Feel free to experiment with the Rotation and Scale transforms. The animation procedures are the same: just choose Rotation or Scale instead of Location for the Transform.
15. Save your file to your "Mollusks" folder as "ex4".