Exercise Three
More selecting and new movement methods will enhance your comfort with Blender. Some color and different view options might make you say: Wow!
1. Click Blender > General to get a fresh start with the default "3D" world.
2. Enter "1" for Front Orthographic View. Delete all the objects in the "3D" Viewport. You can hold down the Shift key and select each object. Then, click the right mouse key and Delete.
Image 1.31
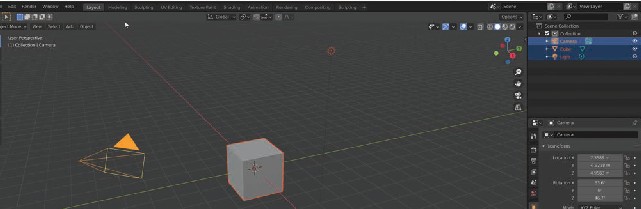
3. Notice that the "3D" Cursor is in the center of the "3D" world. This is its default location: at the "0" coordinate. When you add any new objects, their origin will be placed in the center of the "3D" Cursor, no matter where the "3D" Cursor is located.
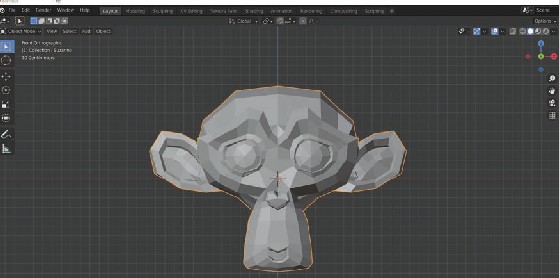
4. Click Add > Mesh > Monkey and "Suzanne" the monkey appears in the center of the scene. Notice that the default view option is the third square of the five view choices that we discussed earlier. This is the Studio View (See Image 1.32) and is the most used view when moving, editing, and shaping objects for scenes. This view offers excellent lighting and a quicker response time, since your Materials and Textures are not loaded into the scene (you learn a lot about Materials and Textures soon; they really enhance your models and scenes.)
Image 1.32
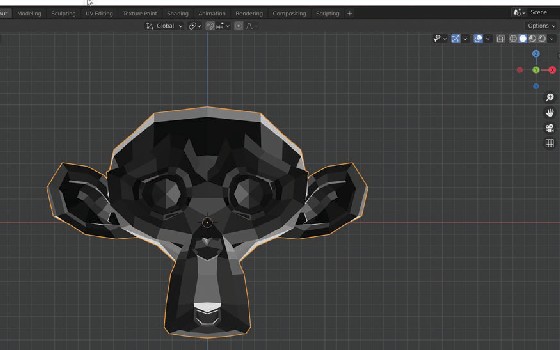
5. To the right of the view choices is a down arrow that presents you with shading options. Click the down arrow, select Matcap, and then click on the circle. You are given the opportunity to select one of a variety of shaders. Choose one that you like, to add some color to the monkey (See Image 1.33 and Image 1.34.)
Image 1.33
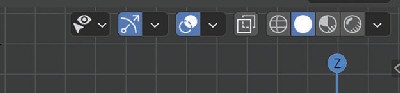
Image 1.34
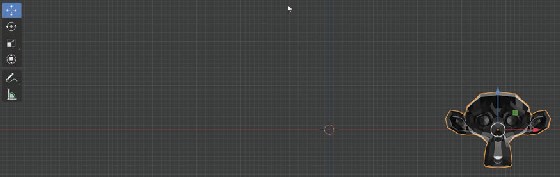
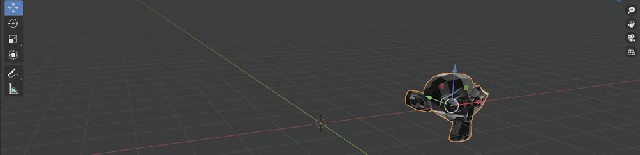
6. Earlier you learned how to move objects in a very precise way using the Sidebar and the Location fields. You can also adjust Location in a precise way with Hot Keys. In Blender, "G" stands for grab, and that's what it does (just remember "G" for grab.) Type "G X 3" (grab and move 3 meters on the "X" axis), and the origin of the monkey will be moved to the third grid line to the right of the "Z" axis ("3" meters to the right of center (See Image 1.35).) Click the left mouse key to verify to the system that you are satisfied with the new Location. Type "G X (minus) -3" and "Suzanne" returns back to the center (See Image 1.36.)
Image 1.35
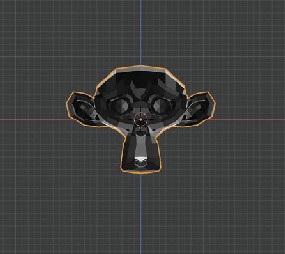
Image 1.36

7. Experiment with moving the monkey around using the "G" Hot Key. You can move "Suzanne" on any of the axes. Try "G Z 2" or "G Y 4" as an example. Have some fun moving the monkey around the scene.
8. If you're interested in moving an object in a more free-style way, you can just type "G" and move the mouse, which in turn moves the object in the direction that you move the mouse cursor. When you're satisfied with the Location, click the left mouse key, and the object is relocated. Experiment with moving the monkey with this method.
9. Still another method for moving an object is to use the Move tool that is located in the toolbox tab on the left side of the "3D" Viewport.
Image 1.37
10. Hold the left mouse key down on the blue arrow and you can slide the monkey north and south. Hold the left key down on the red arrow and you can move "Suzanne" east and west. You don't see the green "Y" arrow because you are in Front Orthographic View. Hold the middle mouse button down (the scroll wheel on your mouse) and drag the mouse down. Now, you are in User Perspective View, and you can move the monkey frontward or backward.
Image 1.38
11. Take some time now to experiment with the View Gizmo in the top right-hand corner of the "3D" Viewport.
Image 1.39
![]()
12. You can view the monkey from the Front Orthographic, Right Orthographic, Back Orthographic, Left Orthographic, Top Orthographic, and Bottom Orthographic Views. Of course, you can always go to User Perspective View by holding down the mouse wheel and dragging the cursor.
13. Now save your file to your "Mollusks" folder as "ex3" and exit the program.